The Moto X3M Level Map: 50 Levels, Three Themes and What the Garage Sells
Published · 3 min read

The level map in Moto X3M looks like one long road through a desert, but the fifty stops on it fall into three clear groups. This is the layout of the build served on motox3m.pro, read from its level files, so the numbers here are what the game actually loads.
Levels 1–10: the beach intro
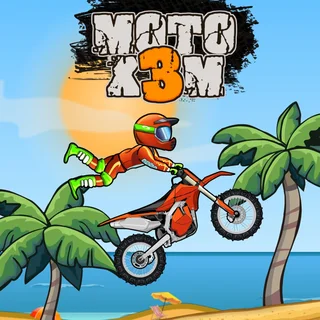
The first ten tracks are stored separately from the rest and act as the tutorial. They use the beach set — sand, palm trees, umbrellas, wooden ramps, a few barrels — and the target times are short: 13 seconds for three stars on level 1, rising to 22 by level 10. Four of these tracks are pure beach, four move into the canyon and two into the stone yard, so by the end of the intro you have seen every hazard type once. Nothing here needs a flip to finish, but every ramp is a chance to practice one.
Levels 11–50: the forty full tracks
After level 10 the map switches to the main set of forty tracks. They rotate through the three themes — twelve on the beach, sixteen in the canyon, twelve in the stone yard — and the three-star times stretch from 25 seconds on level 11 to 40 seconds on level 50. The tracks get longer rather than harder in a straight line; some of the nastiest saw-blade rooms sit in the twenties.
What each theme throws at you
- Beach: ramps, loops and long jumps. The hazards are mostly gaps and barrels. This is where you learn to land a flip and keep the throttle on.
- Canyon: rock walls, wooden bridges and circular saw blades — fixed, on chains, and swinging as pendulums. Timing beats speed here; watch a blade complete a swing before you commit.
- Stone yard: brick and stone blocks, one-way signs, TNT crates and explosions that shove the bike.
Checkpoints and unlocking
Every track has checkpoint flags. A crash sends you back to the last one when you press Space, with the clock still running. Levels unlock in order — finish one with any star count and the next one opens — so there is no reason to grind three stars before moving on. Come back for the stars once you know the whole map; later levels teach jump timing that makes the early ones easier.
The garage: eight bikes, 0 to 70 stars
The bike icon at the top left of the map opens the garage. There are eight bikes, priced 0, 10, 20, 30, 40, 50, 60 and 70 stars. Buying one spends stars from your total, though your level results stay. The bikes are skins: they change the colors and the shape of the frame, not the speed, torque or grip, which come from one shared bike definition. Buy one because you like the look, not because you expect it to shave seconds. The version served here answers the "watch an ad to try a bike" prompt without an ad, so you can preview any of them for free.
Where the time is
With 150 stars on the map and 280 needed for every bike, the ones worth chasing are on the levels with the most air: the beach tracks in the twenties and thirties have four or five big ramps each, and each landed flip is worth half a second. Learn those first, and the rest of the map pays for itself.
More from the blog
- Moto X3M Star Times: How the Three-Star Clock Works and How to Beat It
Every Moto X3M level hides three time thresholds. Here is what they are on the tracks that matter, why flips are worth exactly half a second, and the restart habit that saves runs.